Step 1: Finalize your Bootstrap project
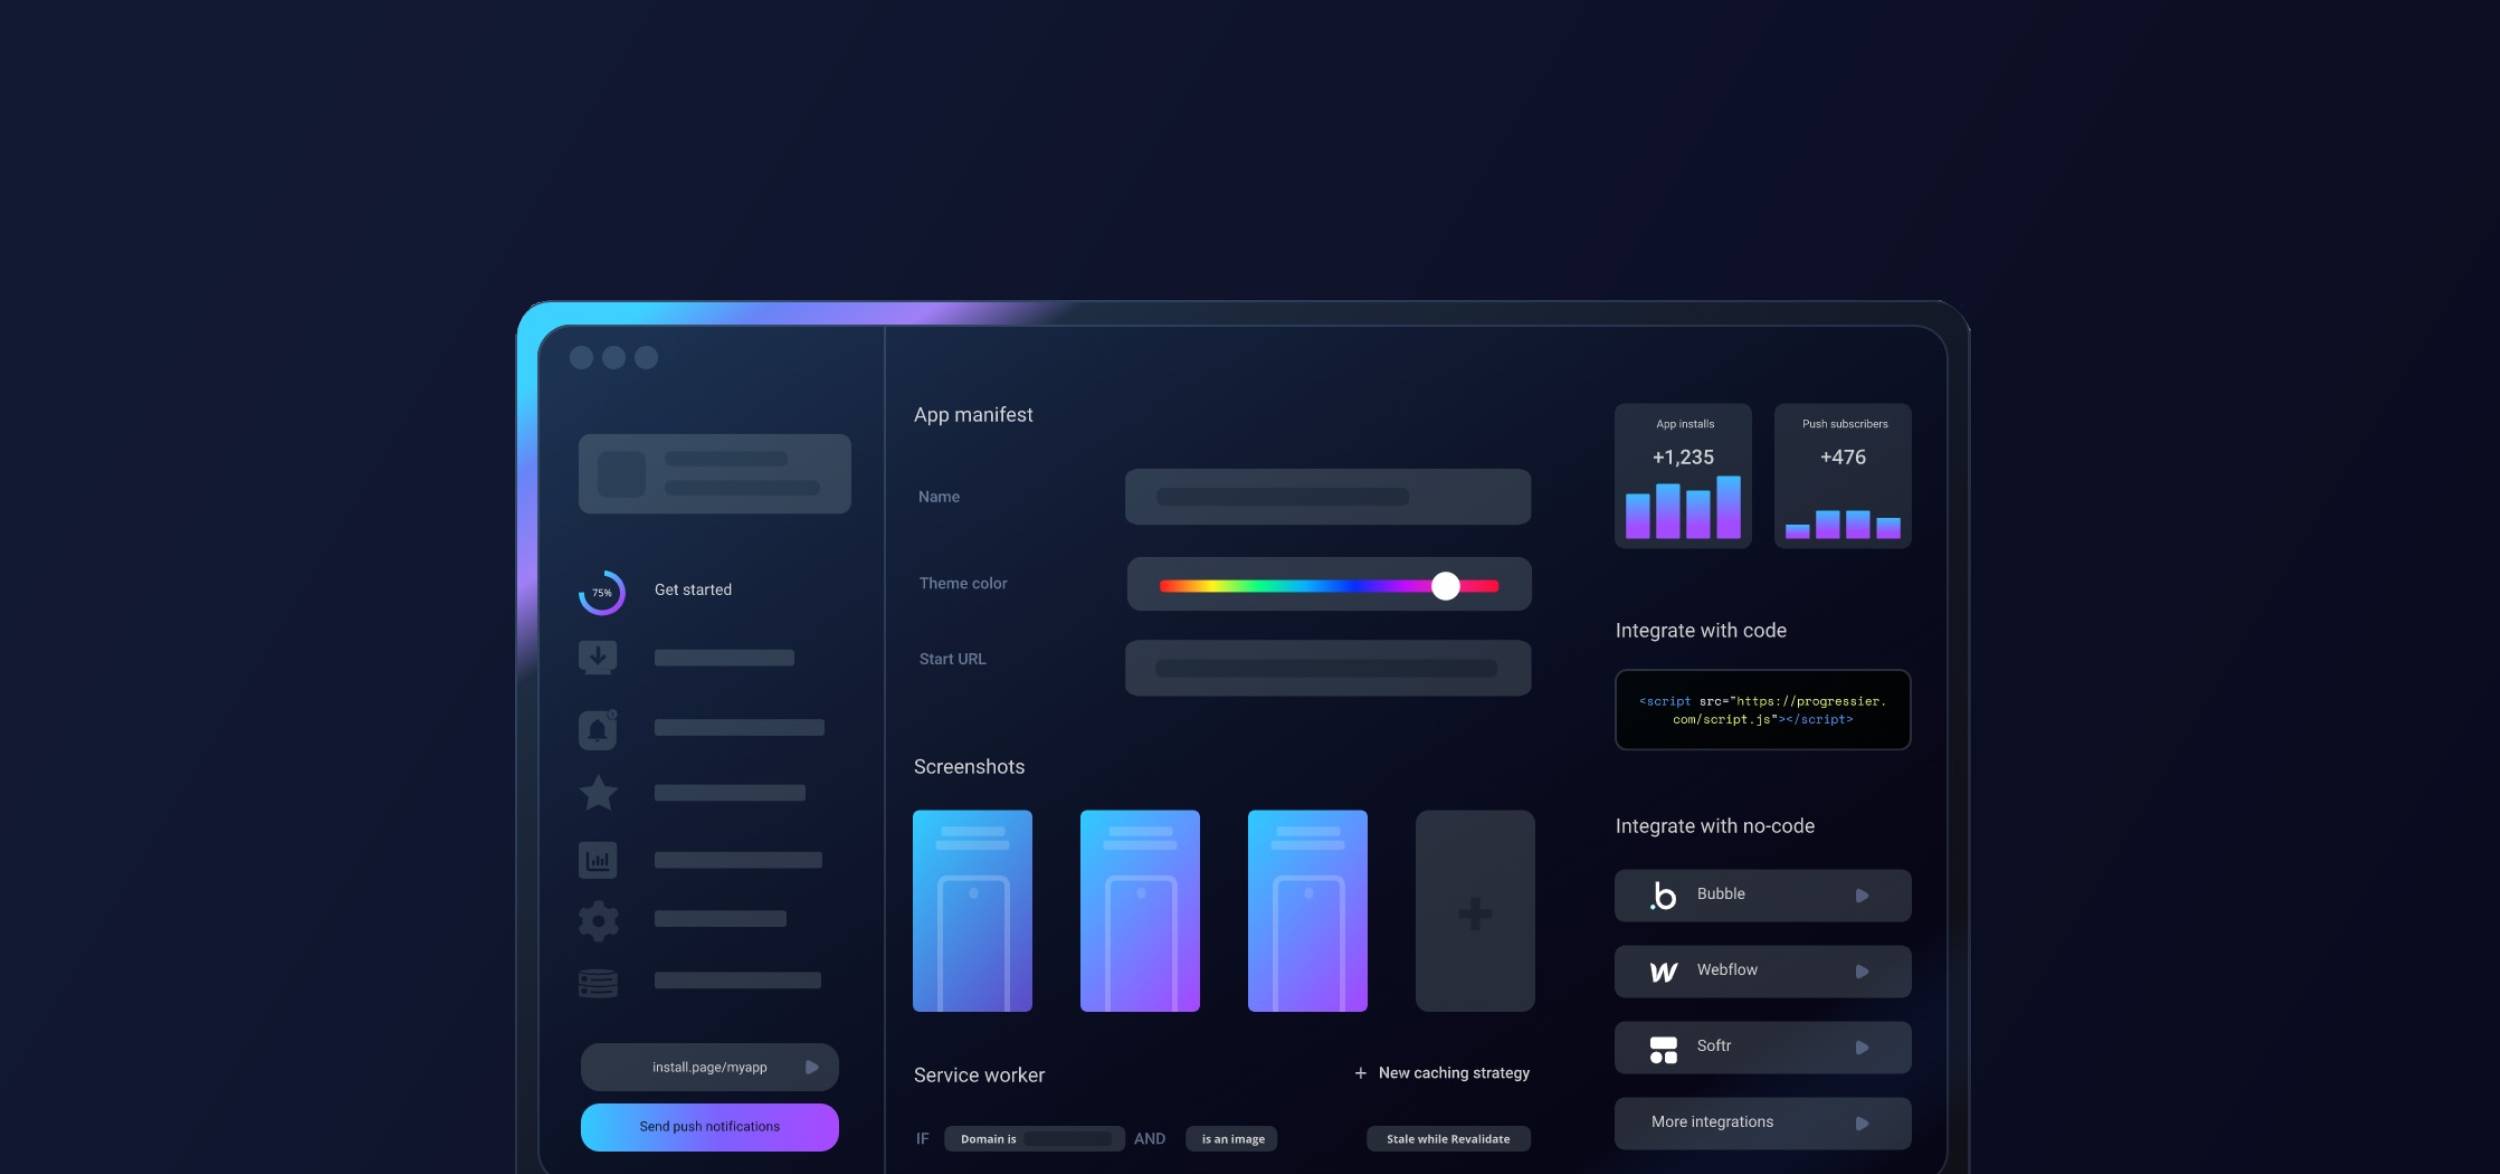
Progressier is a tool that lets you add extra features, like PWA installation and push notifications to your Bootstrap web app. When your app is ready to launch and accessible at a custom domain, you can incorporate Progressier into your project to enhance its capabilities.
Step 2: Register for a Progressier account
Progressier is an all-in-one no-code toolkit for web apps. It usually takes 10 minutes or less to integrate Progressier with Bootstrap.
Create your Progressier account . Progressier comes with a 14-day free trial that allows you to integrate it into your Bootstrap app risk-free. You only enter your payment information once everything is working to your liking.
Step 3: Generate your Bootstrap PWA
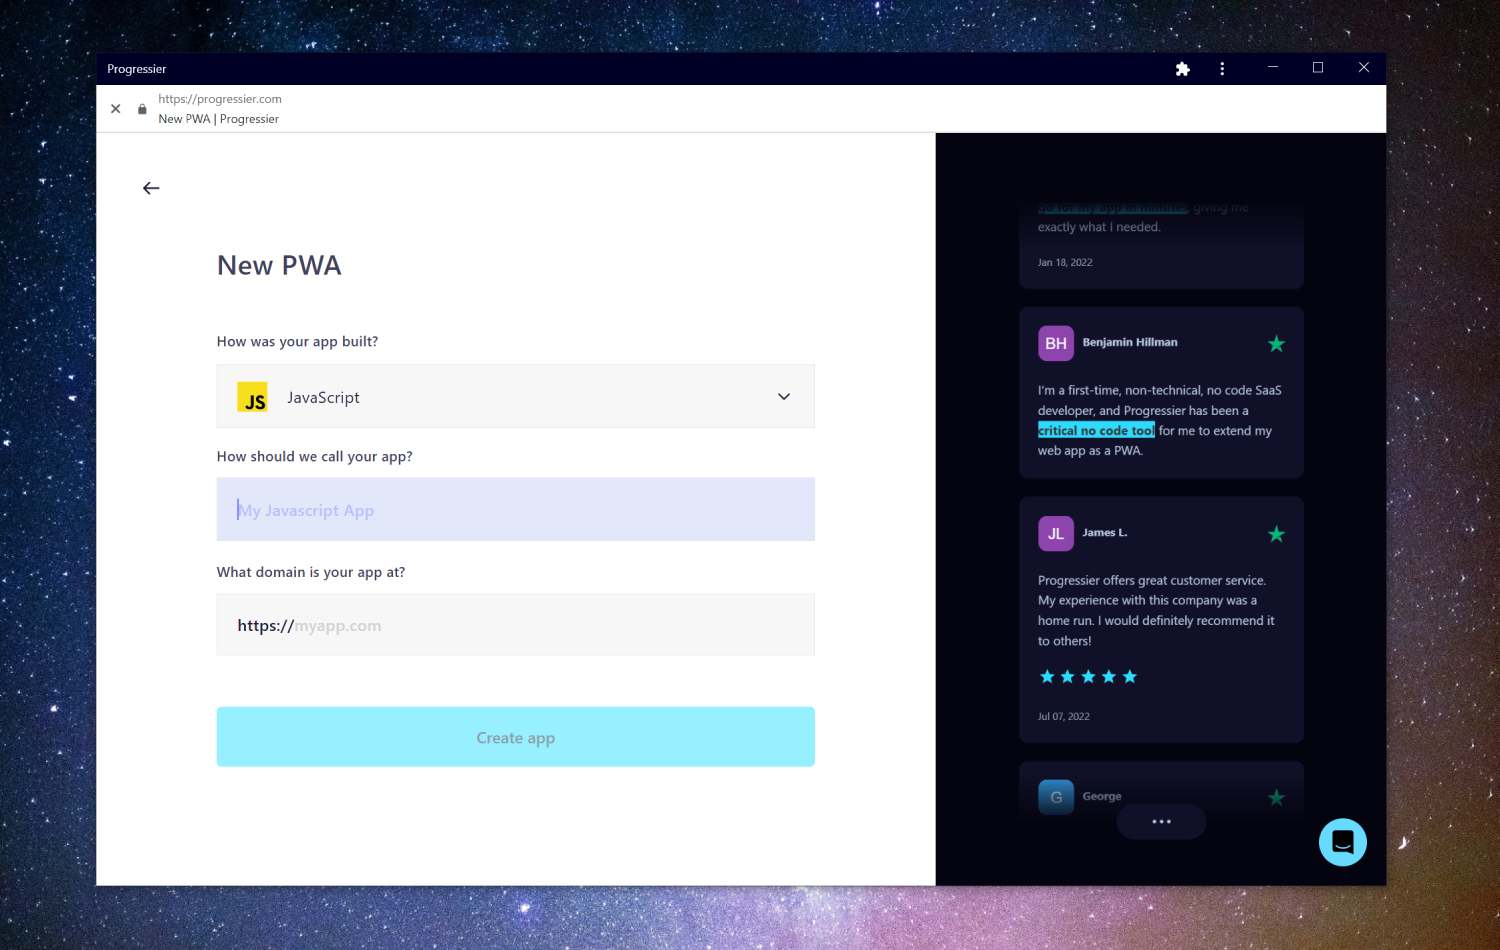
After signing up, you'll be prompted to enter a few details about your app, e.g. how it was built (choose Bootstrap), the name of your app, and its domain.
Step 4: Finish configuring your Bootstrap PWA
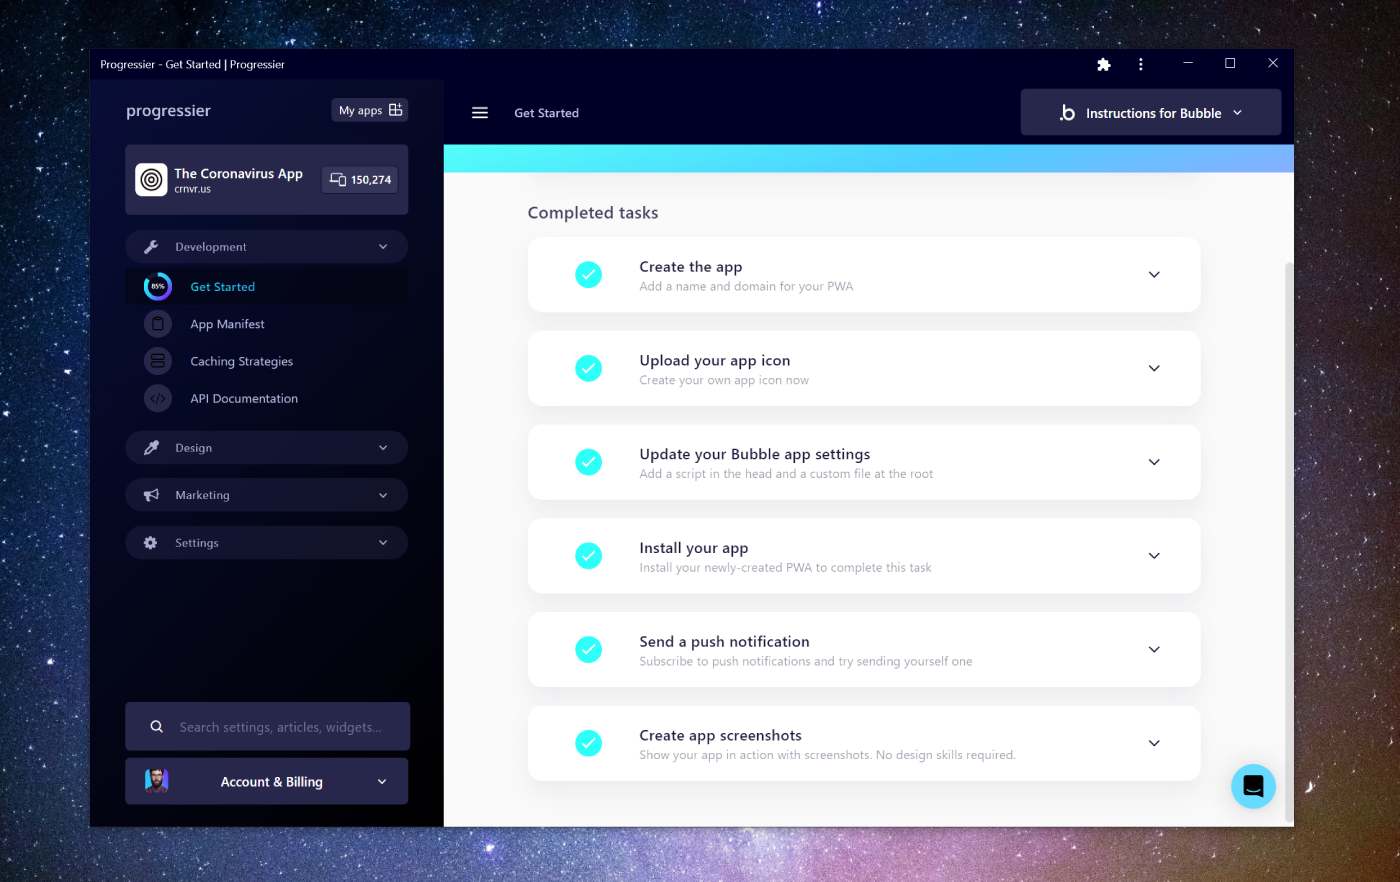
Once logged in to the dashboard, follow the instructions in the Get Started section to complete your Bootstrap integration. With Bootstrap, it typically takes about 10 minutes.
Step 5: Authorize push notifications

Now back to your newly-created PWA! You should have been prompted to allow notifications during sign-up.
Step 6: Compose a push notification
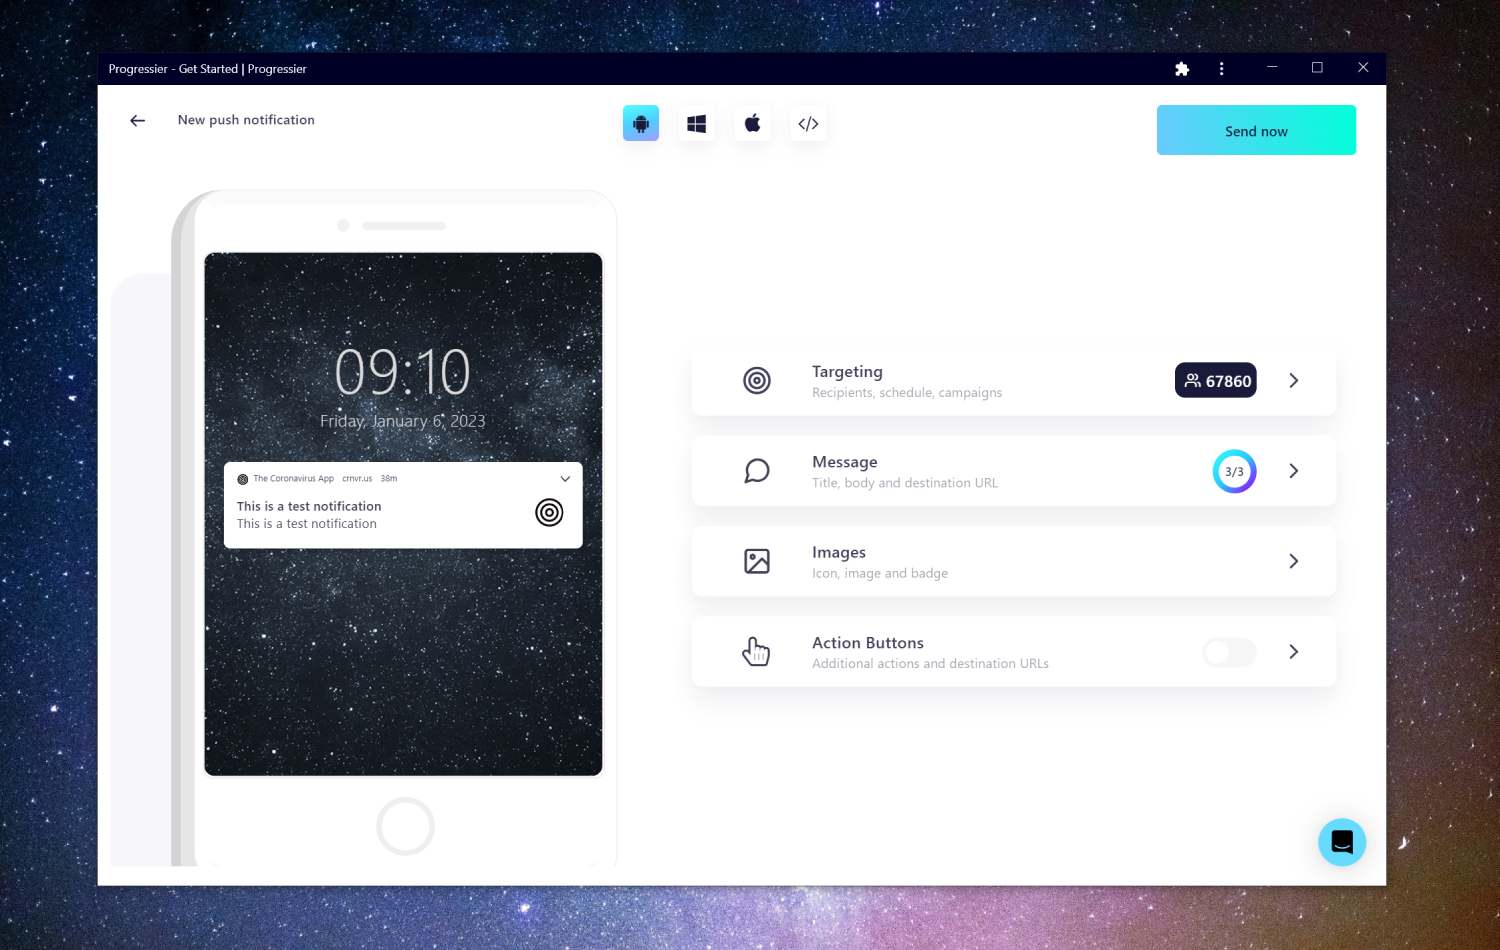
Go to our Push Composer (login required) to compose your first push notification. By default, it will be sent to all your subscribers, but you can target a specific group of users in the Recipients section of the Targeting tab.
Step 7: Use our Push API (optional)
Sending the same notification to every user for marketing purposes is one thing. Sending notifications programmatically to a user to react to events in your Bootstrap app is another. Luckily, Progressier comes with a solution for both use cases. Simply connect your user data (e.g. a user ID or user email), then call our Push API in your server-side code to send a push notification to a specific user. You don't have to manage push subscriptions on your end.
Why should you add push notifications to your Bootstrap web app?
Push notifications can improve user engagement, drive traffic back to the app, increase retention rates, boost conversion rates, and provide a better overall user experience.
Drawbacks of push notifications
Because of their limited deliverability, push notifications are not as flexible as email or even text messages as a communication tool. Also, it's easy for users to unsubscribe from your notifications, so you'll have to make sure you don't notify them too frequently.
What are the best push services for Bootstrap apps?
Here are some popular examples of push services Bootstrap app owners like to use:
- Firebase Cloud Messaging (FCM): This is a free, cross-platform messaging service provided by Google that allows you to send push notifications to Android, iOS, and web devices.
- OneSignal: Probably the most popular option for push notifications. OneSignal works well across platforms and provides more options than FCM but can be quite costly, especially at scale.
- Progressier: Progressier is a PWA toolkit that allows developers and no-code makers to effortlessly send push notifications for marketing or targeted messaging purposes. It is built specifically for web apps and may not be the best option for websites or native apps.
- WonderPush: WonderPush is a cloud-based push notification service that enables developers to send targeted messages to their users on various devices.
Developing your own push notification solution
If you prefer to build your own push notification solution, this is also possible, although it will take you a lot more time and effort. I've written about the process of creating a complete push solution that can scale to 1 million users with Firebase. A push service has these components:
1. Prompts to allow push notifications: the first step is to ask users to allow notifications in their browser. There are several ways to do this, but it often involves building some custom UI
2. A database to save push subscriptions: a push subscription is essentially an API endpoint. When a user allows notifications, you need to save this endpoint in your database with additional information about the preferences of that user. This can be topics or a specific user ID or email.
3. A push composer: composer the content of the notification with a title, body and the icon of your Bootstrap app. Then make a POST request to that endpoint.
4. A push queue: send the payload of the push notification to the API endpoint of a particular subscription, and they'll receive your notification.
Which platforms are compatible with push notifications?
The Web Push API is compatible with Windows (via Chrome, Edge, Firefox, Opera), macOS (Firefox, Chrome, Edge, Safari), Android (Samsung Internet, Chrome, Firefox) and iOS (Safari).