
Step 1: Set up your Webflow project
Progressier can enhance your Webflow web app with additional features such as push notifications and the ability to be installed as a Progressive Web App (PWA). You can incorporate Progressier into your project when your app is live and accessible at a custom domain.
Note that setting up a custom domain with Webflow may require a paid plan. Make sure to upgrade your plan before going any further to be able to use all required features.
Before you start, also ensure your Webflow app can be embedded in an iframe. While this is optional and there is an alternative way to wrap your app with the functionality, the iframe method is the solution that provides the best user experience — provided that your app doesn't require cookies.
Step 2: Register for a Progressier account
Progressier is a web toolkit that allows you to easily add new capabilities to your Webflow app (and apps from hosting providers as well) using little to no code at all.
Create your Progressier account . Progressier comes with a 14-day free trial that allows you to integrate it into your Webflow app risk-free. You only enter your payment information once everything is working to your liking.
Step 3: Make your Webflow project a PWA
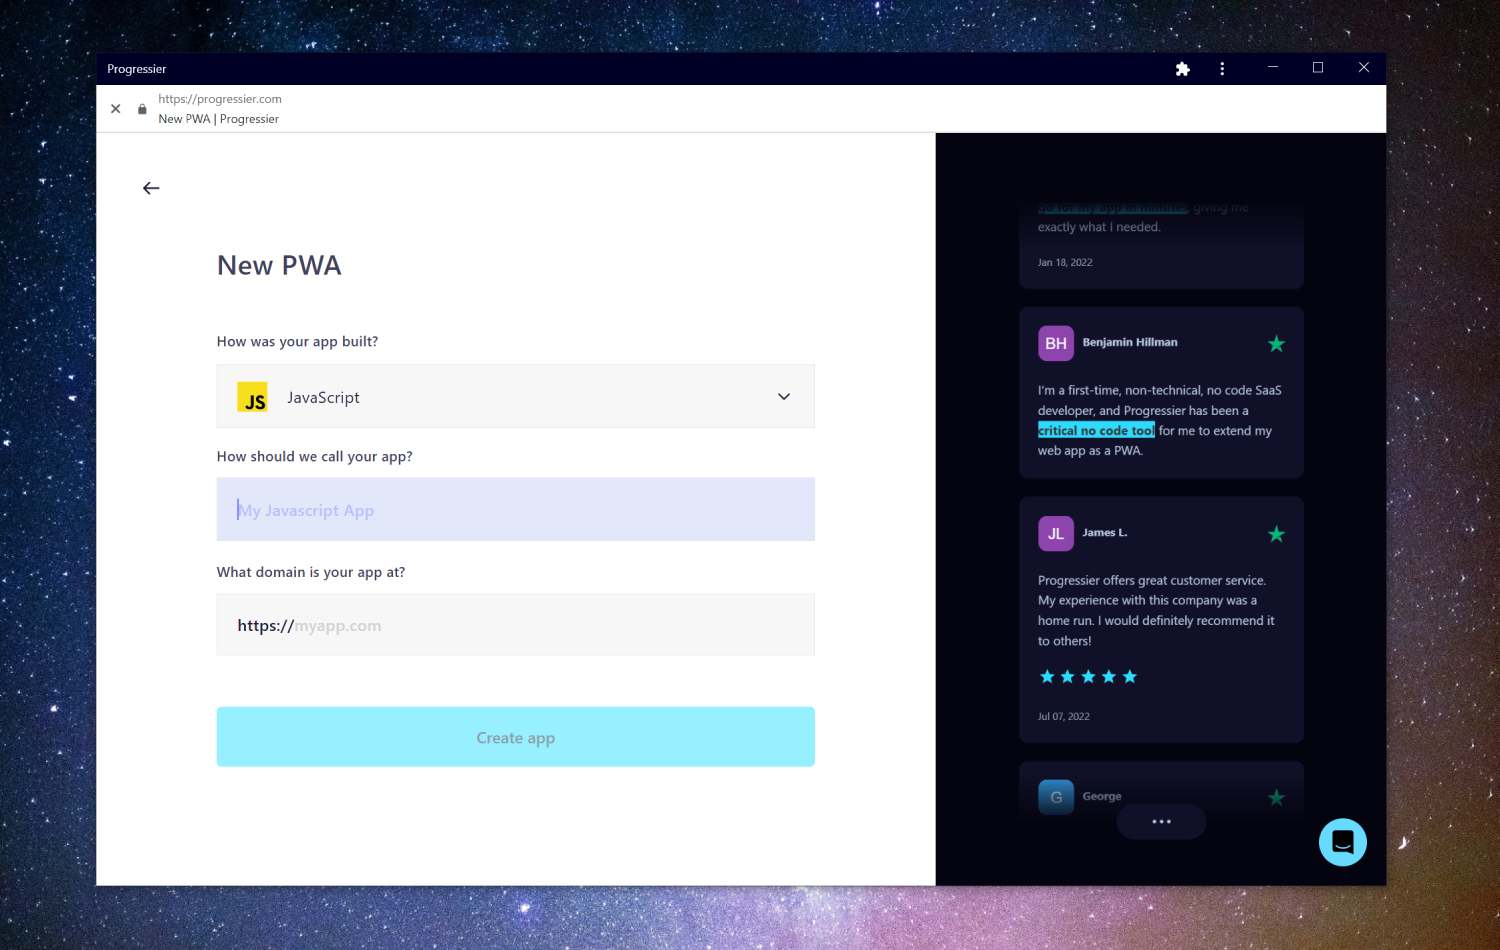
Next, create your Webflow app in Progressier. Go to New PWA, then select Webflow in the first dropdown menu. Give your app a name and paste the URL of your Webflow project in the third field.
Step 4: Complete the setup of your Webflow PWA
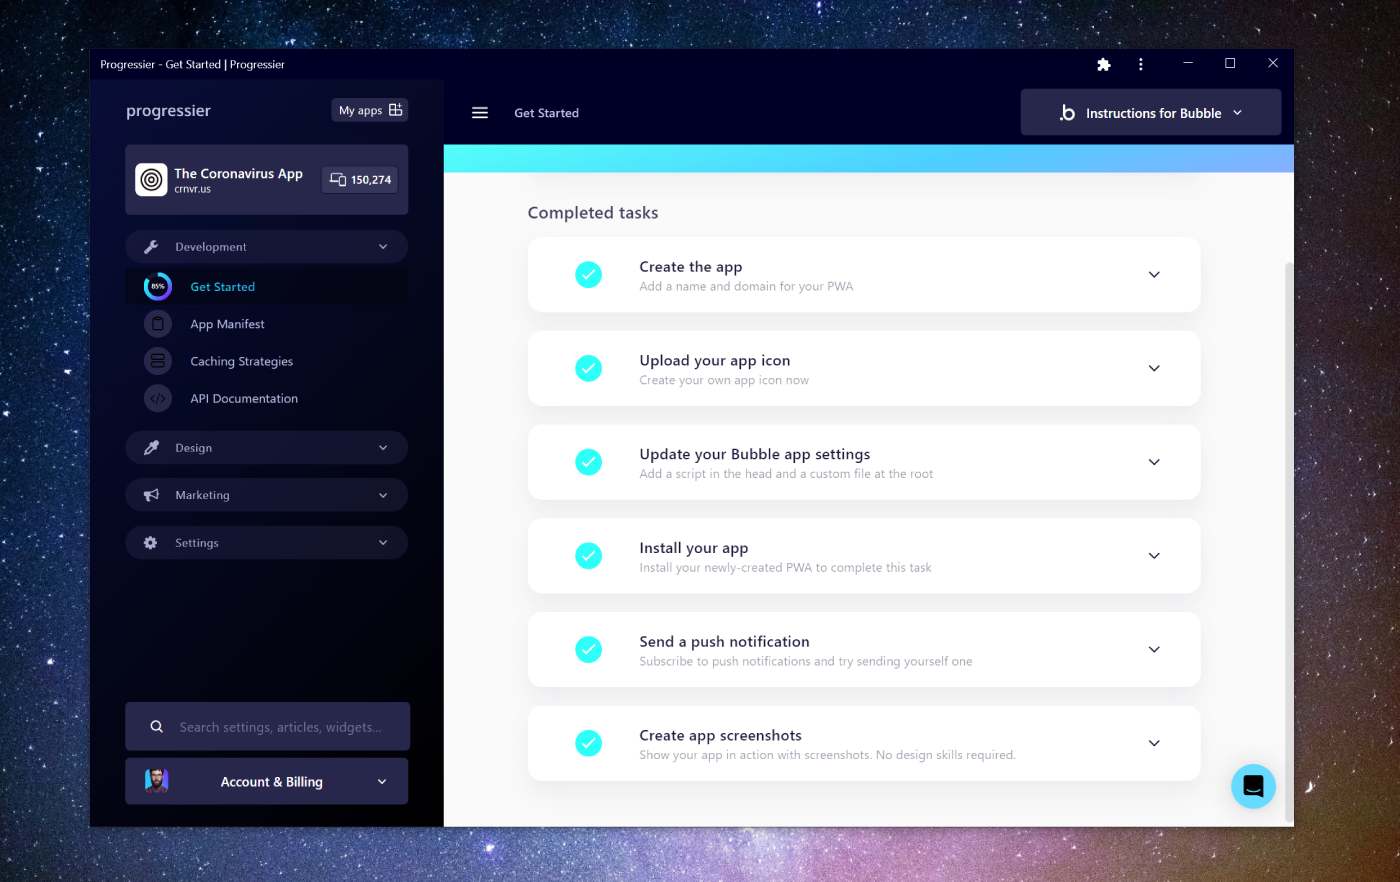
Once logged in to the dashboard, follow the instructions in the Get Started section to complete your Webflow integration. With Webflow, it typically takes about 4 minutes.
Step 5: Authorize push notifications

Because Webflow has some additional limitations compared to other no-code builders, Progressier doesn't directly augment your existing Webflow domain with push notifications. Instead, we create a wrapper around your app with the installation and push functionality. This wrapper is available at a custom domain created specifically for your app.
Open your newly-created custom domain. You should see a Floating Action Button at the bottom-right corner. Click on it and then tap Get notifications. The browser will prompt you to allow notifications. Click Allow
Step 6: Let's send a push notification
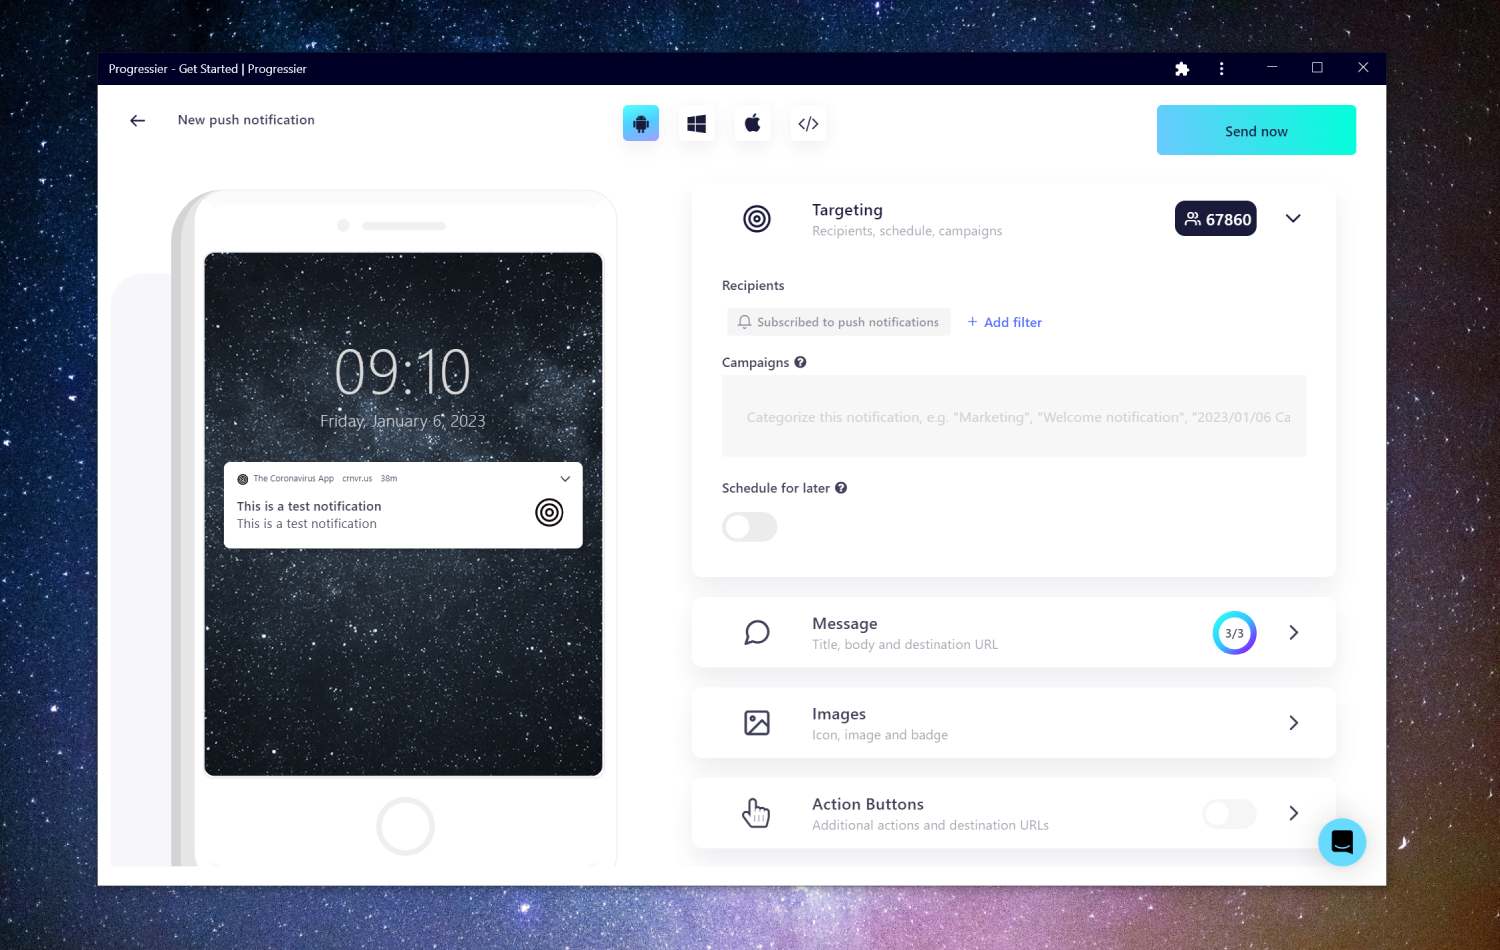
Go to our Push Composer (login required) to compose your first push notification. By default, it will be sent to all your subscribers, but you can target a specific group of users in the Recipients section of the Targeting tab.
Once you've clicked Send now, Progressier will automatically dispatch your notifications and notify each device that has authorized push notifications on your domain. Notifications are typically received within a few seconds.
Why should you add push notifications to your Webflow web app?
Push notifications can help keep users coming back to the app by providing them with valuable and interesting content. For example, if you have a fitness app, you can send push notifications with daily workout tips or challenges to keep users motivated and engaged.
Also, push notifications can provide a more convenient way for users to receive updates and information from your app, improving the overall user experience. For example, if you have a weather app, you can send push notifications with real-time weather updates to help users plan their day.
The challenges of implementing push notifications in web apps
Use notifications with restraint as some users find them intrusive and/or annoying. Also, instead of using push notifications as a marketing tool, consider using them to provide value to your users. For example, you could use push notifications to alert users to new features or updates or to remind them of important tasks or deadlines. This can help build trust and engagement with your users.
What are the best push services for Webflow apps?
Here are some popular examples of push services Webflow app owners like to use:
- Firebase Cloud Messaging (FCM): The free push messaging solution developed by Google. It's completely free to use but is fairly limited when it comes to sending personalized push notifications
- OneSignal: This is a cross-platform messaging service that supports Android, iOS, and web platforms. It offers a range of features, including segmentation, A/B testing, and support for multiple languages.
- Progressier: Progressier is a PWA toolkit that allows developers and no-code makers to effortlessly send push notifications for marketing or targeted messaging purposes. It is built specifically for web apps and may not be the best option for websites or native apps.
- WonderPush: WonderPush is a cloud-based push notification service that enables developers to send targeted messages to their users on various devices.
- TruePush: Another popular option for developers to integrate push notifications into their Webflow app.
Creating your own push service
Webflow is not quite the right platform for creating a push service, especially if you plan to handle scale. Creating a push service definitely requires writing code. Going with an existing push service will save you time and money.
Which devices and browsers are capable of receiving push notifications?
- Windows/Chrome
- Windows/Edge
- Windows/Firefox
- Windows/Opera
- macOS/Firefox
- macOS/Chrome
- macOS/Edge
- macOS/Opera
- Android/Chrome
- Android/Samsung Internet
- macOS/Safari
- iOS/Safari