Step 1: Set up your Vue.js project
Progressier can enhance your Vue.js web app with additional features such as push notifications and the ability to be installed as a Progressive Web App (PWA). You can incorporate Progressier into your project when your app is live and accessible at a custom domain.
Step 2: Set up your Progressier account
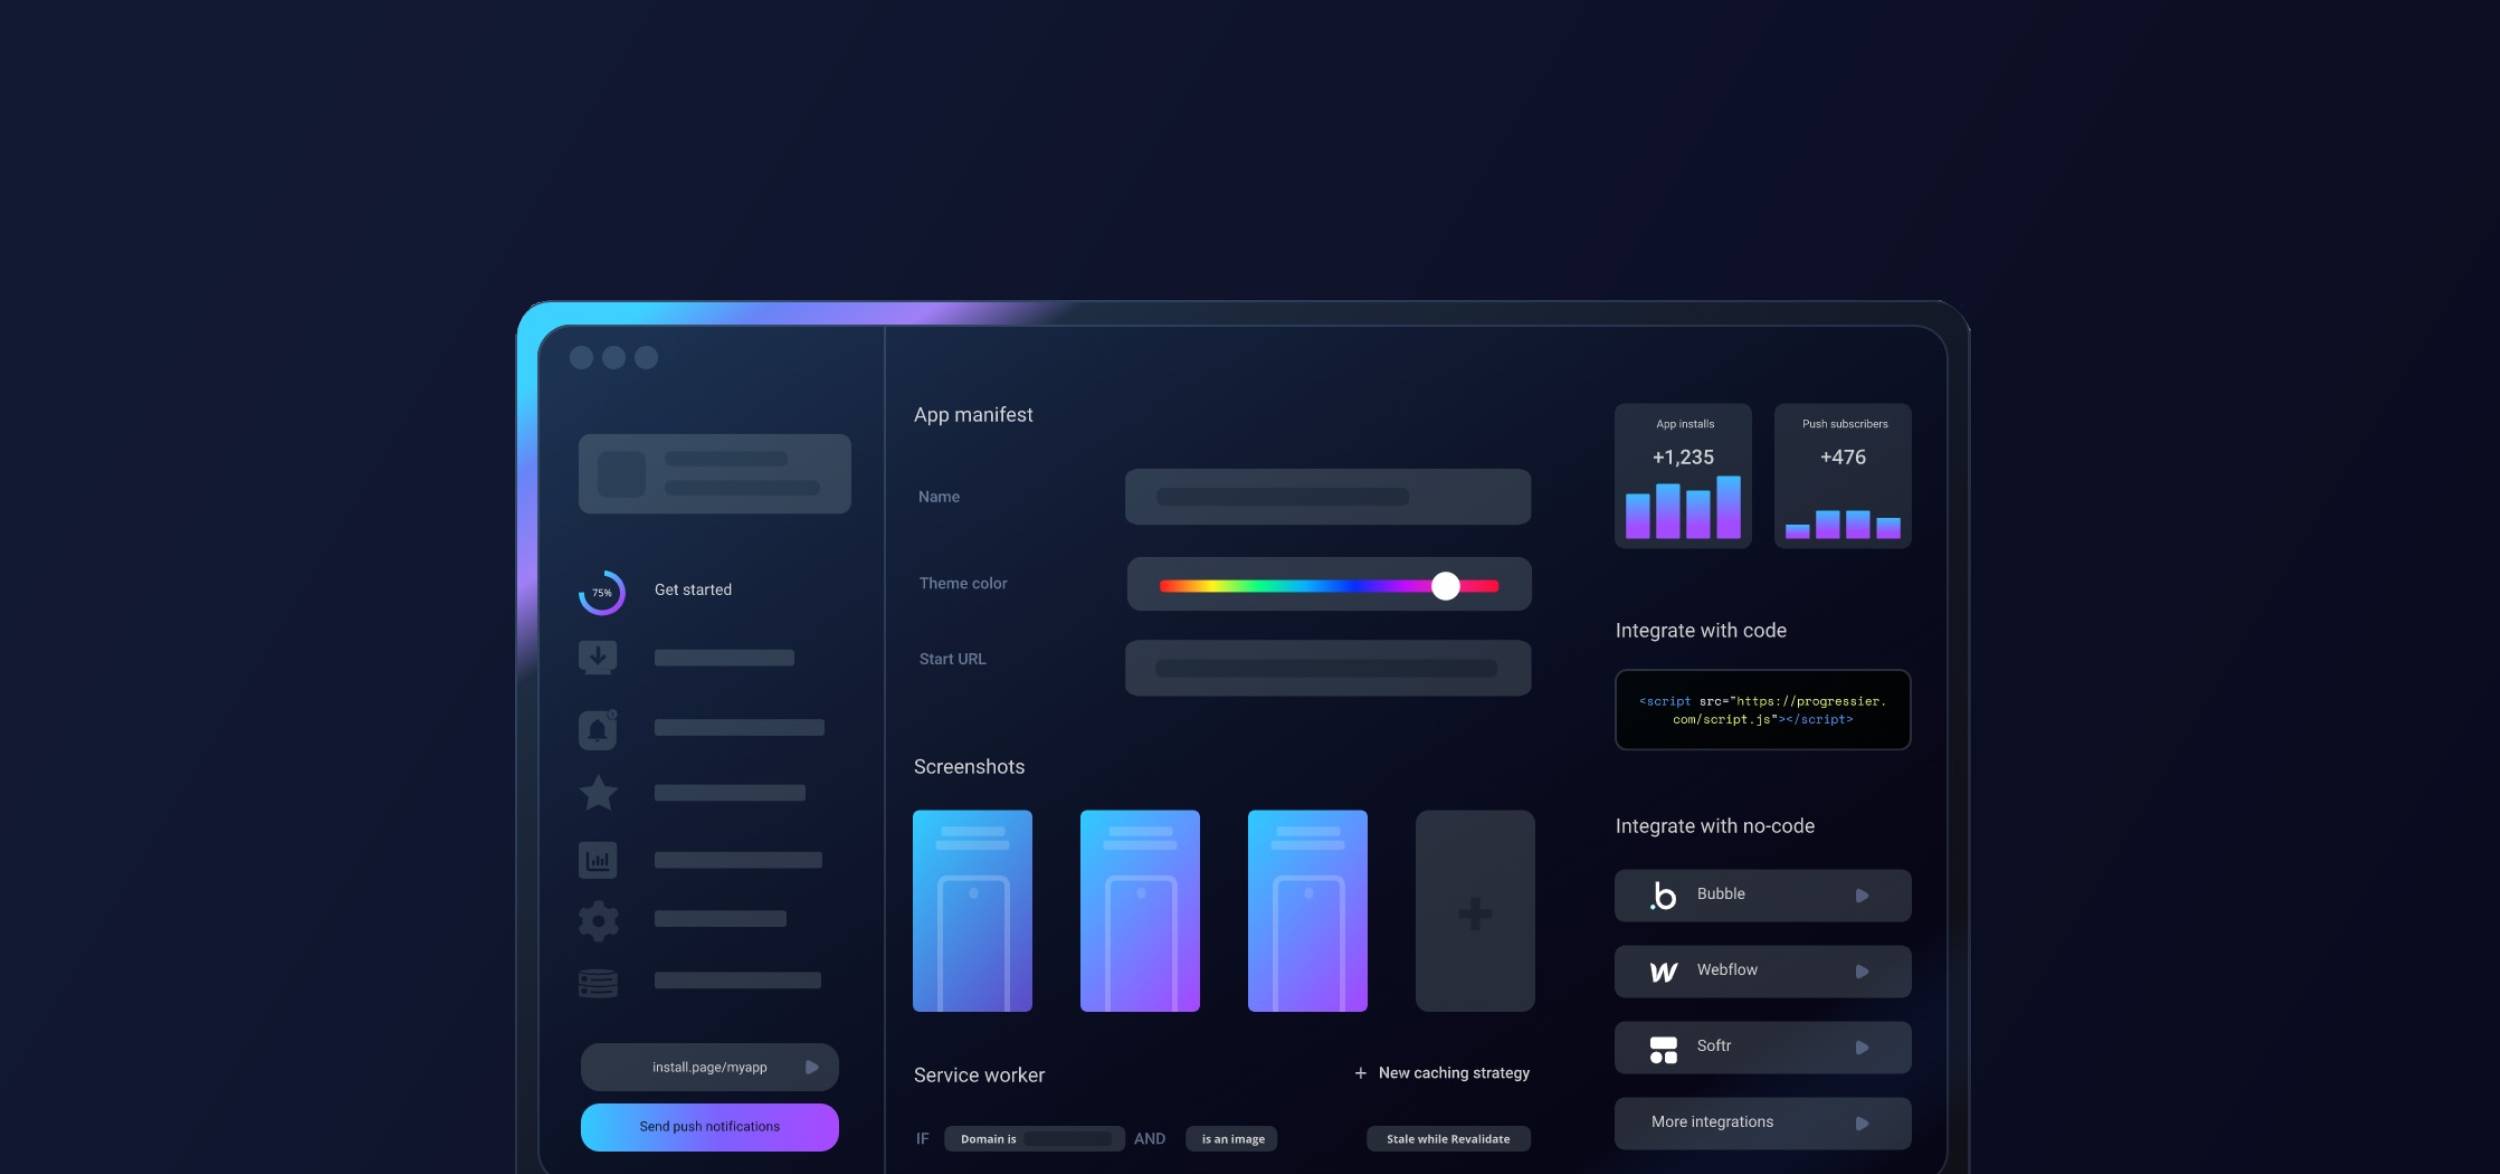
Progressier is a web toolkit that allows you to easily add new capabilities to your Vue.js app (and apps from hosting providers as well) using little to no code at all.
Create your Progressier account . Progressier comes with a 14-day free trial that allows you to integrate it into your Vue.js app risk-free. You only enter your payment information once everything is working to your liking.
Step 3: Generate your Vue.js PWA

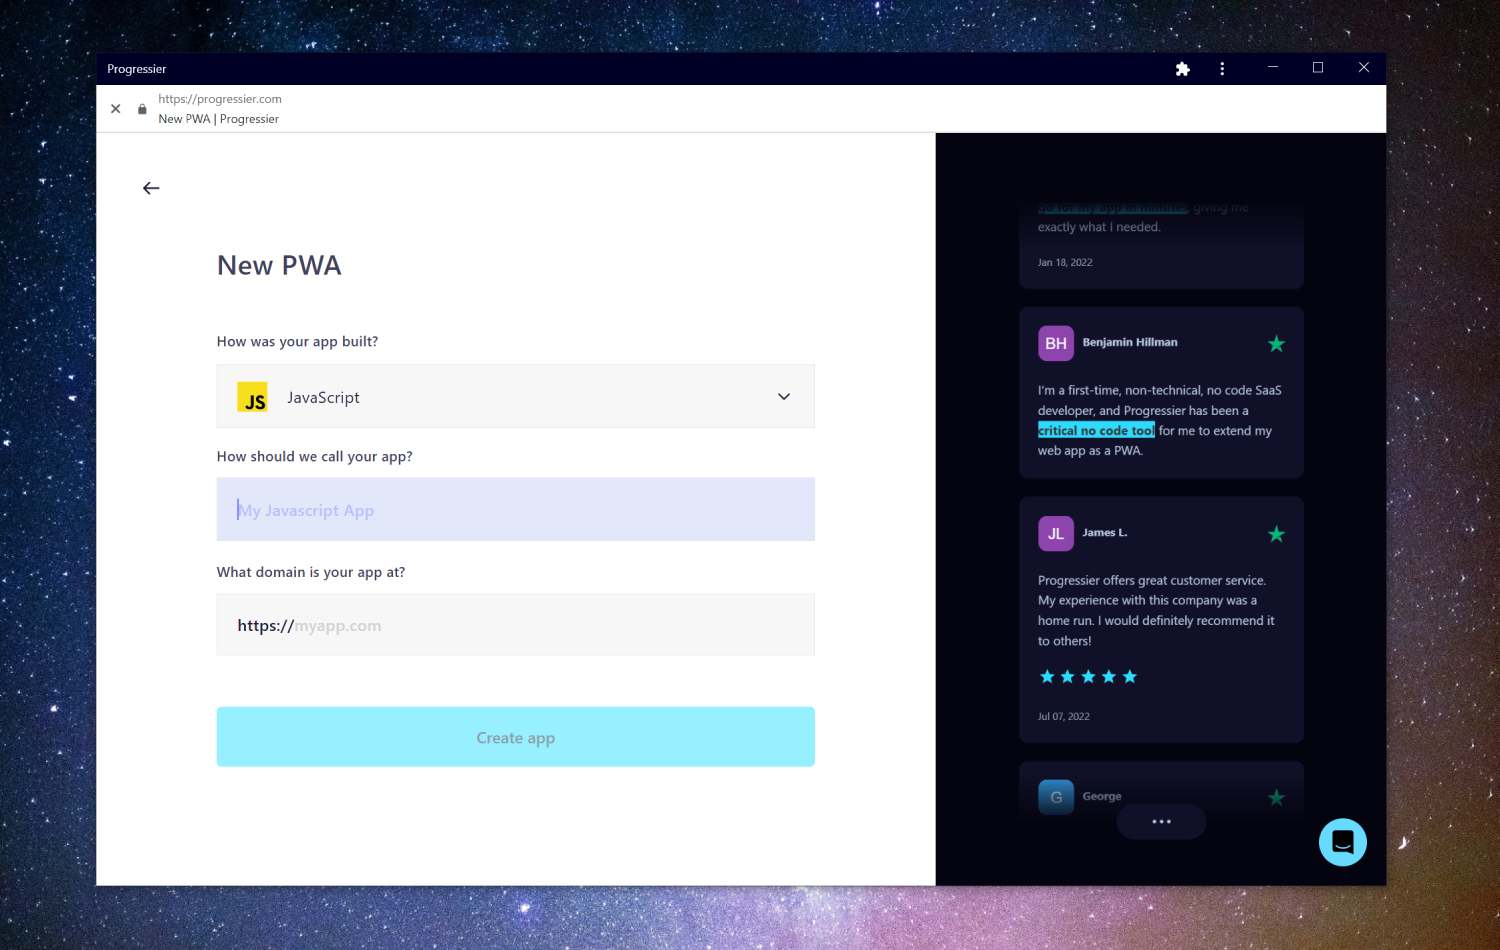
Next, create your Vue.js app in Progressier. Go to New PWA, then select Vue.js in the first dropdown menu. Give your app a name and paste the URL of your Vue.js project in the third field.
Step 4: Finalize your onboarding process

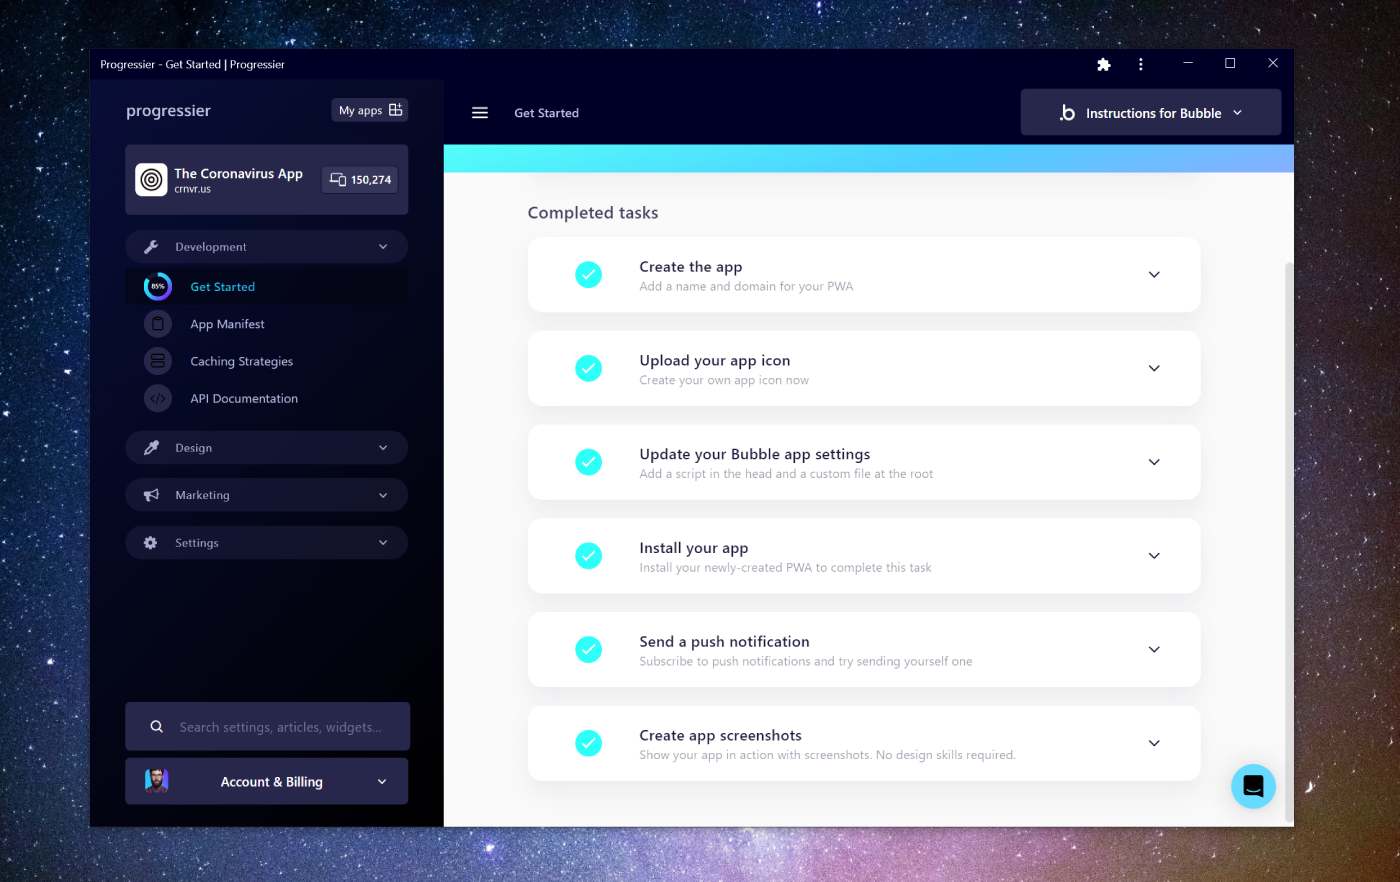
After logging in, you'll be prompted with a series of tasks to complete to finish your onboarding. Tasks are easy and include uploading your logo, setting up your Vue.js project correctly, installing your app, and sending a test push notification
Step 5: Navigate to your app

Now back to your newly-created PWA! You should have been prompted to allow notifications during sign-up.
Step 6: Send a test push notification

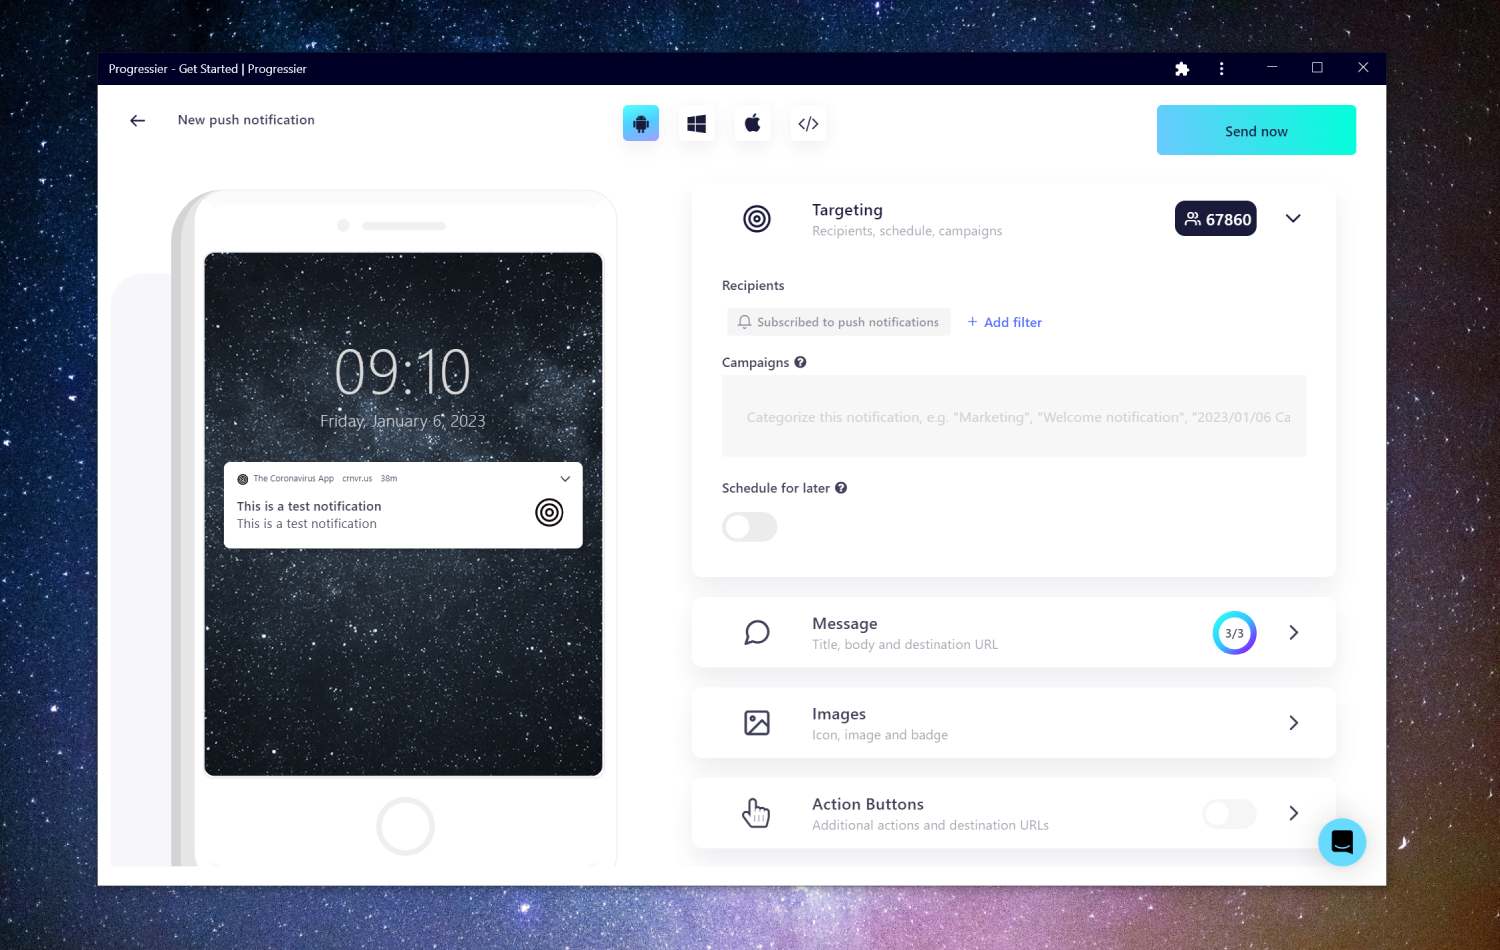
Go to our Push Composer (login required) to compose your first push notification. By default, it will be sent to all your subscribers, but you can target a specific group of users in the Recipients section of the Targeting tab.
Step 7: Use our Push API (optional)
Sending the same notification to every user for marketing purposes is one thing. Sending notifications programmatically to a user to react to events in your Vue.js app is another. Luckily, Progressier comes with a solution for both use cases. Simply connect your user data (e.g. a user ID or user email), then call our Push API in your server-side code to send a push notification to a specific user. You don't have to manage push subscriptions on your end.
Pros of adding push notifications to your Vue.js app
Push notifications can help keep users coming back to the app by providing them with valuable and interesting content. For example, if you have a fitness app, you can send push notifications with daily workout tips or challenges to keep users motivated and engaged.
Also, push notifications can provide a more convenient way for users to receive updates and information from your app, improving the overall user experience. For example, if you have a weather app, you can send push notifications with real-time weather updates to help users plan their day.
The challenges of implementing push notifications in web apps
Apple has announced that push notifications will be coming to iOS in 2023. But in the meantime, the Web Push API only works on desktop and Android, so if your web app is mobile-first, only half of your users will be able to benefit from receiving push notifications.
Some users may consider push notifications to be obtrusive, especially if they're not personalized and used as a marketing tool. Make sure to use them sparingly.
What are the best push services for Vue.js apps?
There are many different push notification service providers to choose from for your Vue.js app, and the best one for you will depend on your specific needs and requirements. Some of the most popular push notification service providers include:
- Firebase Cloud Messaging: a cross-platform messaging solution that lets you reliably deliver messages at no cost. You can use FCM to send messages to clients on iOS, Android, and the web, as well as on desktop applications.
- OneSignal: Probably the most popular option for push notifications. OneSignal works well across platforms and provides more options than FCM but can be quite costly, especially at scale.
- Progressier: probably the best option if you develop web apps as it also comes with additional functionality designed to enhance web apps specifically, e.g. targeted push notifications.
- Amazon Simple Notification Service (SNS): This is a flexible, cross-platform messaging service provided by Amazon that supports a wide range of platforms, including Android, iOS, and the web. It offers features such as topic-based subscriptions and message filtering.
Developing your own push notification solution
Creating your own push solution is feasible, but requires some non-trivial engineering. Chances are you'll be better off using an established push service provider. But if you still want to do this yourself, here are the four components you'll need:
1. Widgets to allow push notifications: you can directly call the native push interface. But if users block notifications right here and there, you won't be able to ask them again. Or you can display a widget that tells users why they should allow notifications before actually calling the native browser interface. This is the recommended way to do this.
2. A push subscription database: once a user has allowed push notifications, you'll be given a specific API endpoint for each user. Save it into your database so you can message users later.
3. An interface for preparing the payload of the notification: a push notification is a JSON object with properties such as title, body, and icon which define the content of the notification itself. You must have a user interface that allows you to define these parameters before they're sent to your push queue.
4. A delivery service: if you have more than a few hundred simultaneous recipients, you'll need to build a push queue that takes care of processing push notifications.
What devices and browsers are compatible with push notifications?
The Web Push API is compatible with Windows (via Chrome, Edge, Firefox, Opera), macOS (Firefox, Chrome, Edge, Safari 16 on macOS Ventura), Android (Samsung Internet, Chrome, Firefox). Push notifications will also soon be available on iOS with Safari.


