

Step 1: Complete your React project
Progressier allows augmenting your React web app with additional functionality, including push notifications and PWA installation. You can add Progressier to your project once it's ready to go and your app is available at a custom domain.
Step 2: Register for a Progressier account
Progressier is a no-code tool that lets you quickly add new features to React web apps without any programming. It typically takes just a few minutes to set up Progressier with a React app.
If you haven’t done so already, create your Progressier account. It comes with a free trial (no credit card required!) so you can test all features free of charge for 14 days without risk.
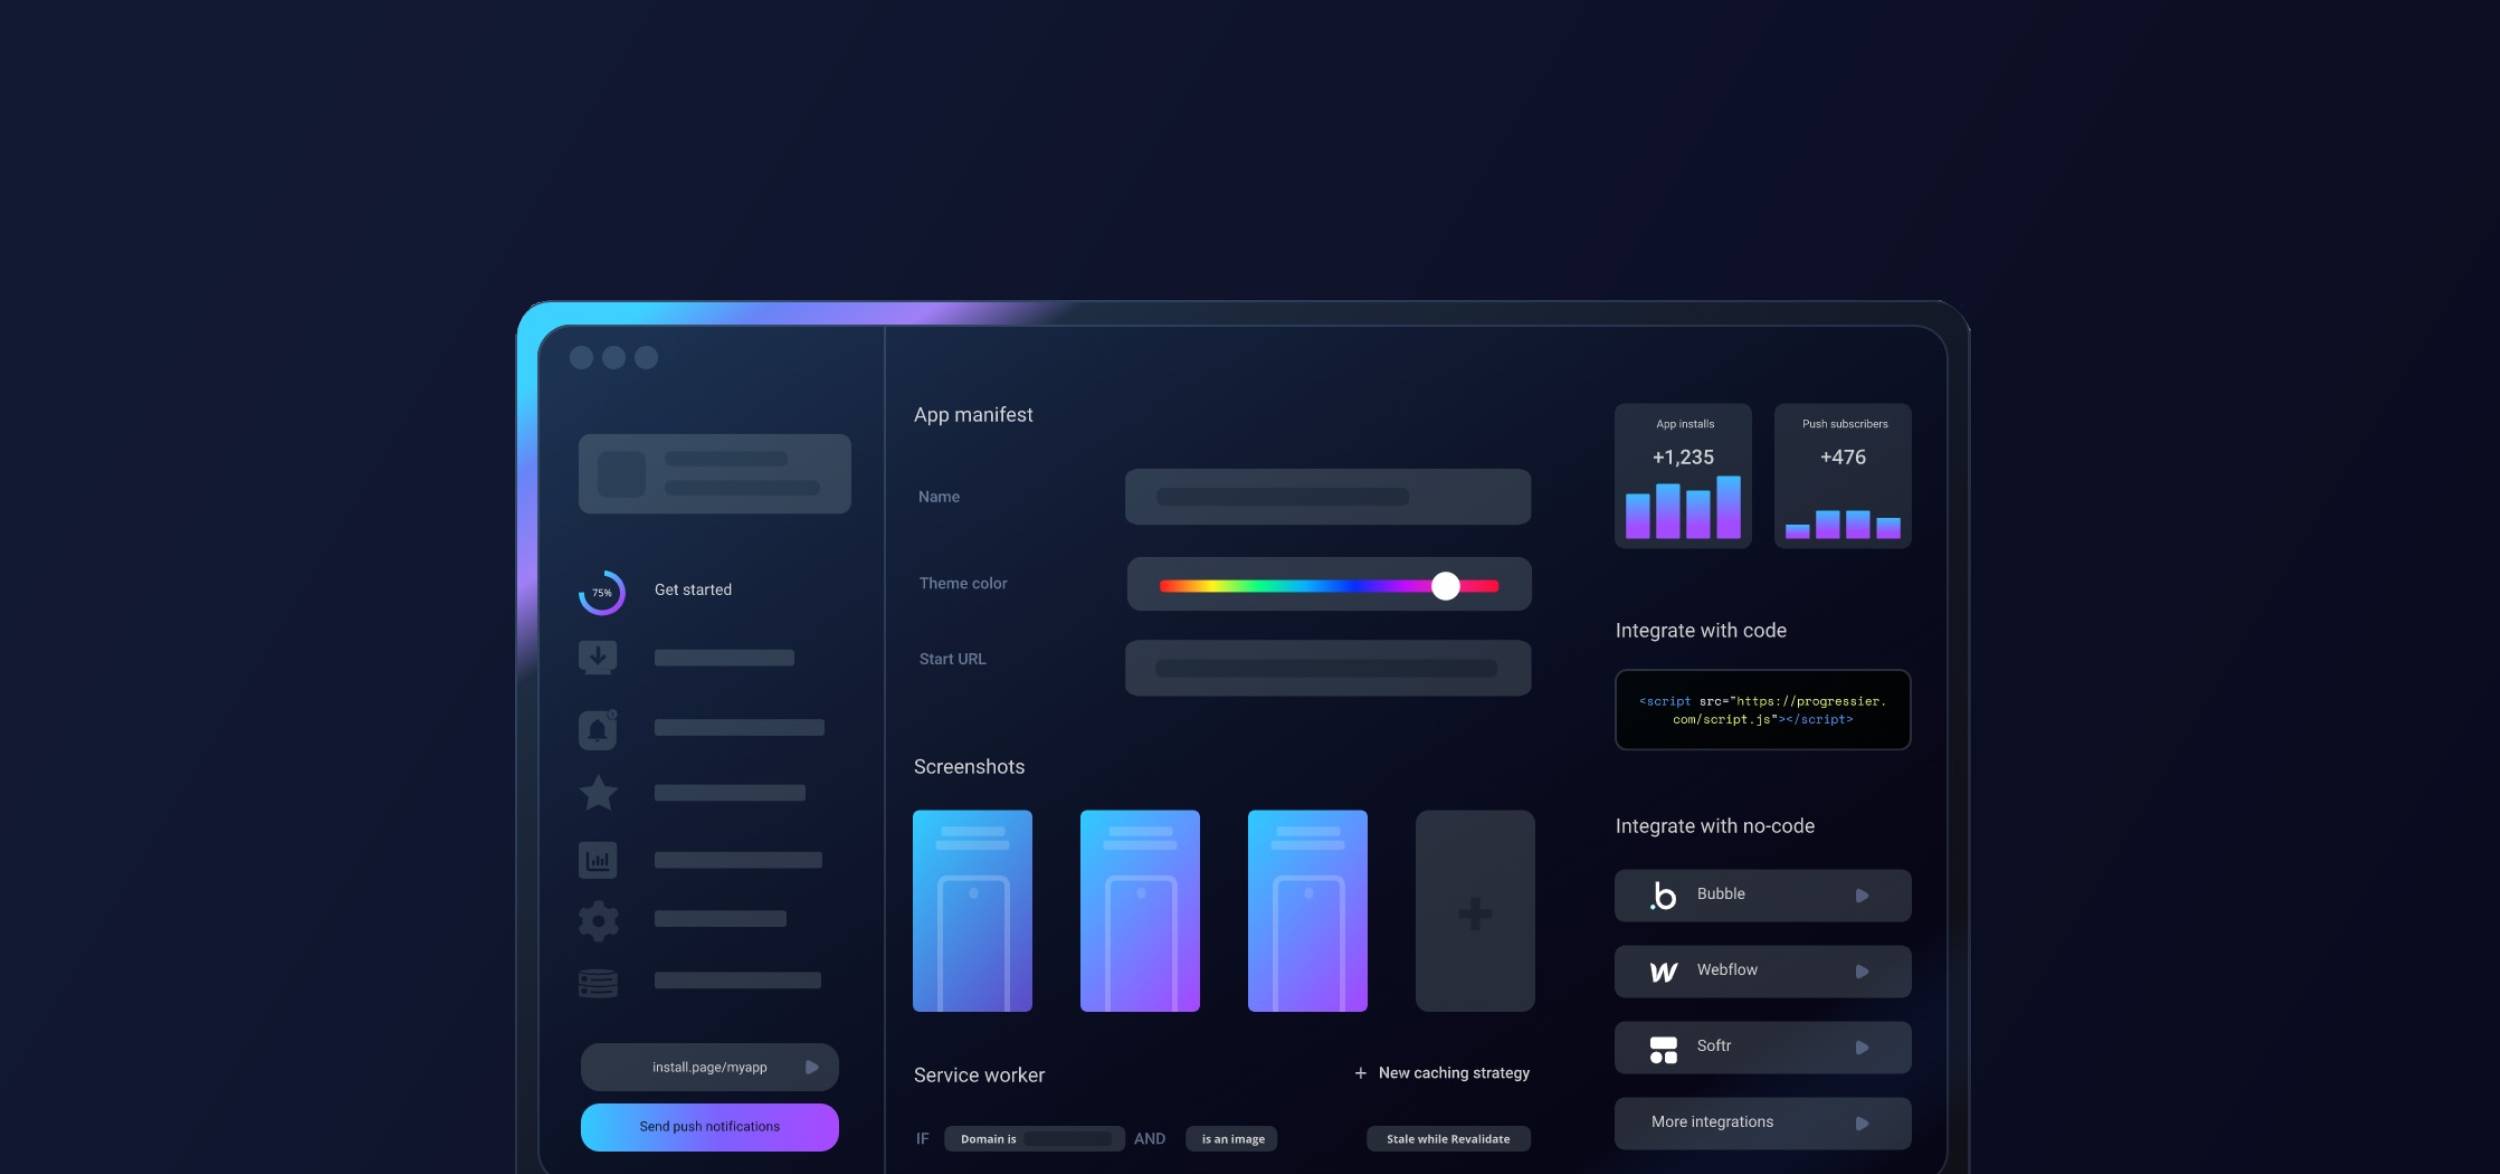
Step 3: Create your PWA
Progressier will turn your React project into a PWA. Enter your app's name, tell us how it was built (you might want to choose React when prompted) and copy-paste your app's URL in the Domain field.
Step 4: Finish setting up your React PWA
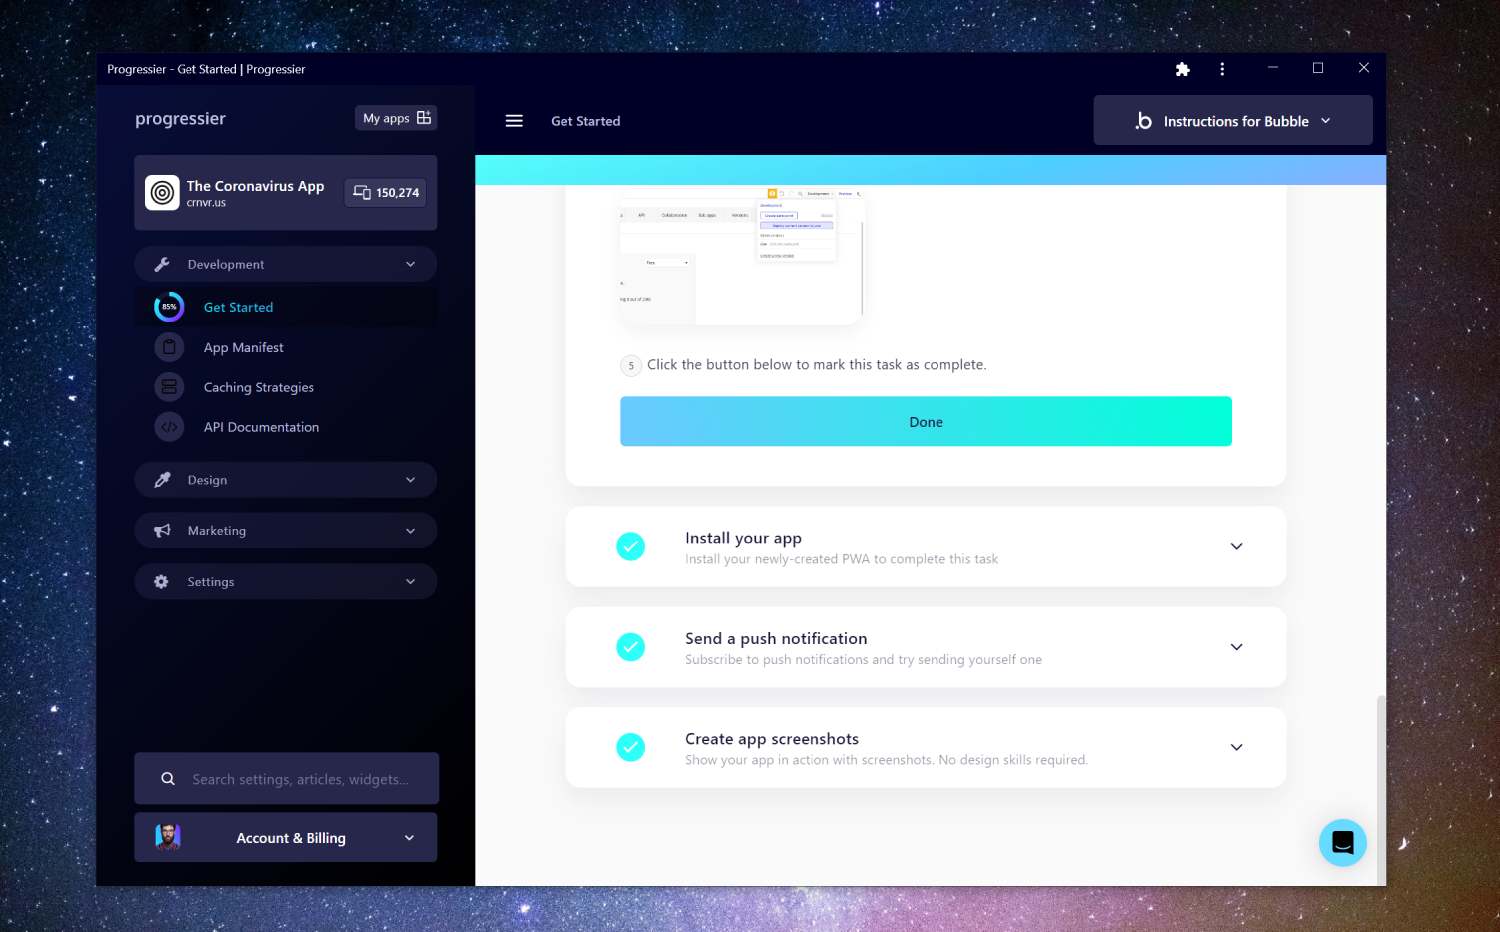
Once logged in to the dashboard, follow the instructions in the Get Started section to complete your React integration. With React, it typically takes about 5 minutes.
Step 5: Authorize push notifications
Head back to your app's domain. You should be prompted to allow notifications. If not, click on the Floating Action Button at the bottom-right corner of your app. There are also other widgets you can use to ask users to allow notifications.
Step 6: Notify your device with a test notification
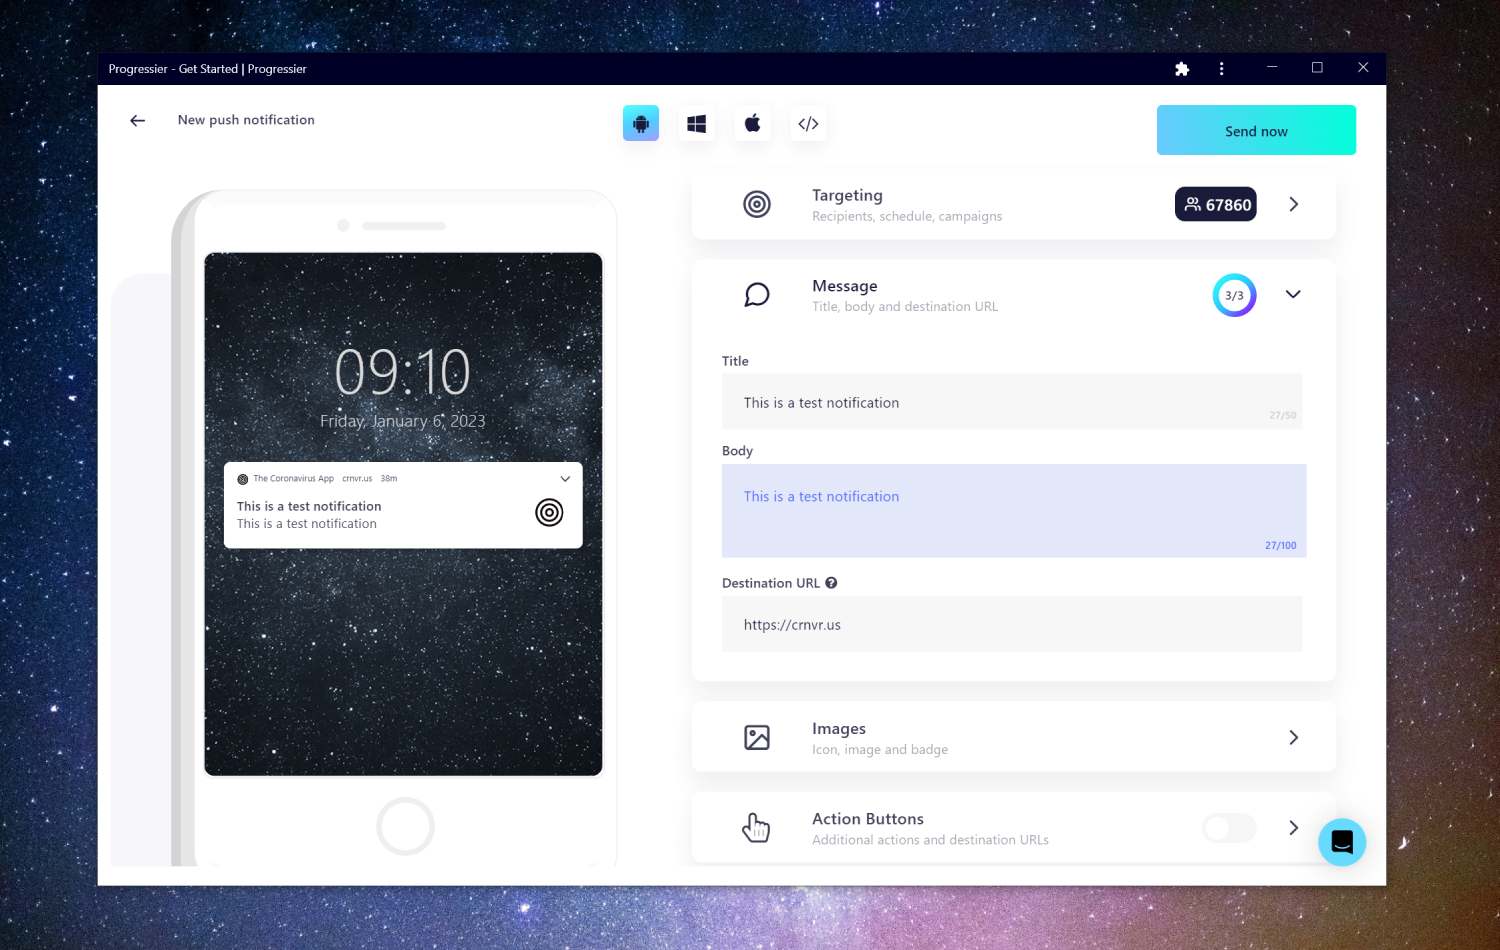
Our Push Composer allows you to compose a notification, select a specific group of users of your React app to send it to, and even schedule its actual delivery from 15 minutes to 14 days in the future.
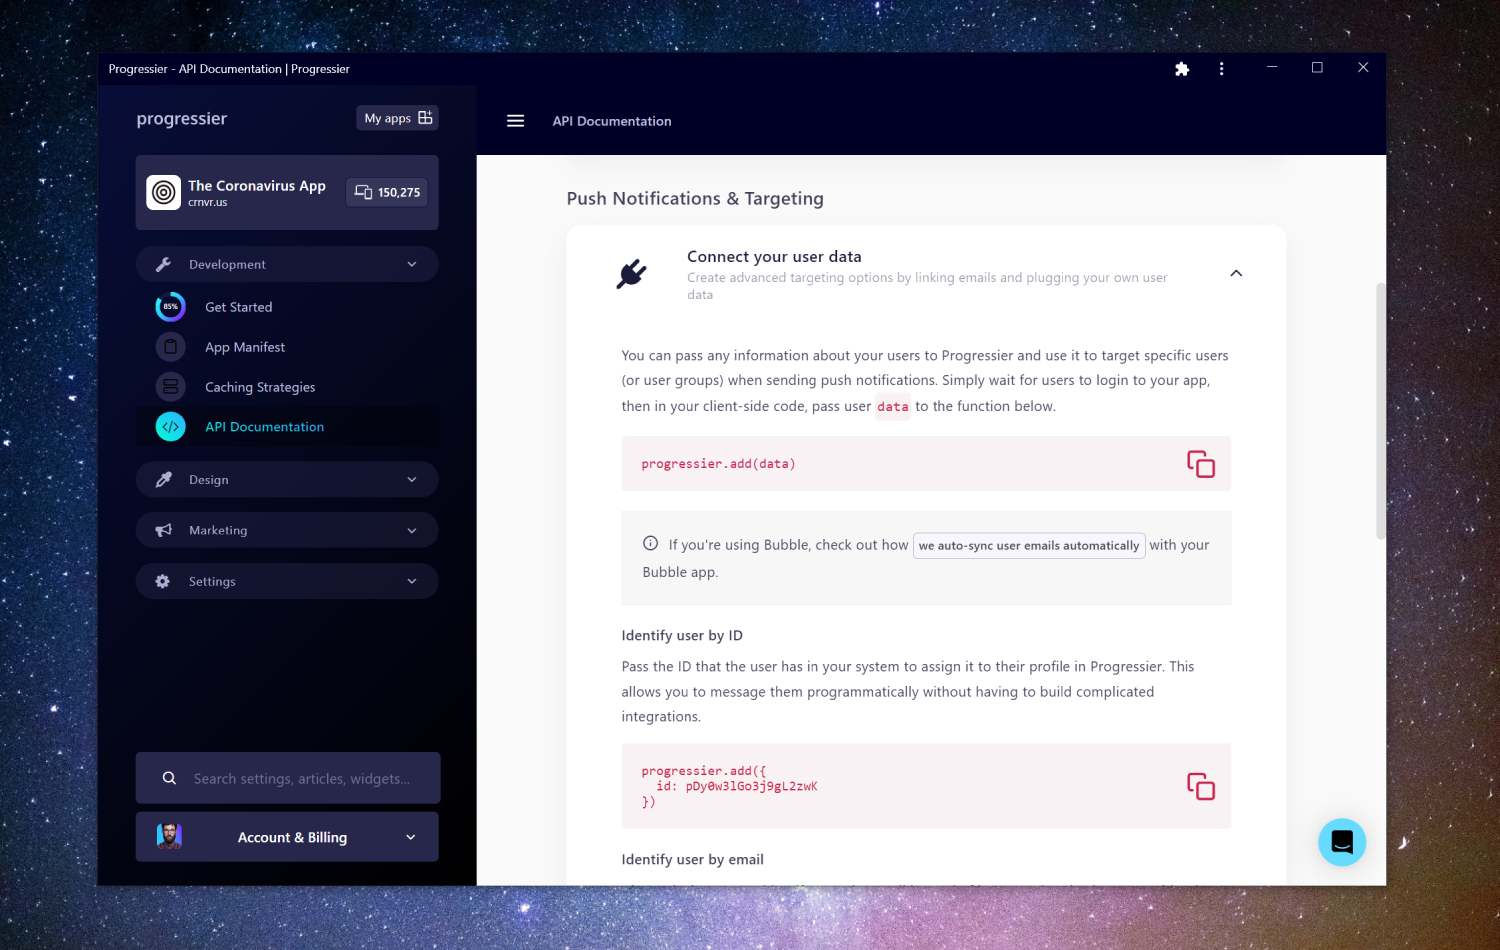
Step 7: Sync push subscriptions with user profiles (optional)

Sending the same notification to every user for marketing purposes is one thing. Sending notifications programmatically to a user to react to events in your React app is another. Luckily, Progressier comes with a solution for both use cases. Simply connect your user data (e.g. a user ID or user email), then call our Push API in your server-side code to send a push notification to a specific user. You don't have to manage push subscriptions on your end.
Why should you add push notifications to your React web app?
Boosted conversion rates
By delivering personalized and targeted messages to users, push notifications can help increase conversion rates and drive sales. For example, if you have an e-commerce app, you can send push notifications with special offers or discounts to entice users to make a purchase.
Improved user engagement
Push notifications can help keep users engaged with your app by delivering timely and relevant updates and information. This can be especially useful for apps that are used infrequently, as push notifications can help keep the app top-of-mind for users.
Driving traffic to your React app
Push notifications can provide users with a reason to open the app, which can help drive traffic back to it. For example, if you have a news app, you can send push notifications to alert users to breaking news stories or other updates.
Weighing the cons of using push notifications in your React app
The Web Push API is only partially supported across devices and browsers. So with your push integration, you'll be able to reach only a portion of your user base (Android and Desktop — not iOS).
Because of their limited deliverability, push notifications are not as flexible as email or even text messages as a communication tool. Also, it's easy for users to unsubscribe from your notifications, so you'll have to make sure you don't notify them too frequently.
What are the best push services for React apps?
Here are some popular examples of push services React app owners like to use:
- Firebase Cloud Messaging (FCM): This is a free, cross-platform messaging service provided by Google that allows you to send push notifications to Android, iOS, and web devices.
- OneSignal: This is a cross-platform messaging service that supports Android, iOS, and web platforms. It offers a range of features, including segmentation, A/B testing, and support for multiple languages.
- Progressier: Progressier is a PWA toolkit that allows developers and no-code makers to effortlessly send push notifications for marketing or targeted messaging purposes. It is built specifically for web apps and may not be the best option for websites or native apps.
- Amazon Simple Notification Service (SNS): that's Amazon's version of FCM designed to help developers send push notifications. Powerful but has a learning curve.
- Airship: Another tool designed to help developers and marketers engage with their users through personalized and timely messages delivered to their mobile devices. Not exclusively web-based.
- PushEngage: Another popular option for push notifications on the web.
Creating your own push service
If you prefer to build your own push notification solution, this is also possible, although it will take you a lot more time and effort. I've written about the process of creating a complete push solution that can scale to 1 million users with Firebase. A push service has these components:
1. Prompts to allow push notifications: the first step is to ask users to allow notifications in their browser. There are several ways to do this, but it often involves building some custom UI
2. A database to save push subscriptions: a push subscription is essentially an API endpoint. When a user allows notifications, you need to save this endpoint in your database with additional information about the preferences of that user. This can be topics or a specific user ID or email.
3. A push composer: composer the content of the notification with a title, body and the icon of your React app. Then make a POST request to that endpoint.
4. A push queue: send the payload of the push notification to the API endpoint of a particular subscription, and they'll receive your notification.
Which devices and browsers are capable of receiving push notifications?
- Windows/Chrome
- Windows/Edge
- Windows/Firefox
- Windows/Opera
- macOS/Firefox
- macOS/Chrome
- macOS/Edge
- macOS/Opera
- Android/Chrome
- Android/Samsung Internet
- Android/Firefox
- macOS/Safari (Safari 16 on macOS Ventura or higher)
- iOS/Safari
